


Introduction
Deploying a Node.js application to Vercel can be easily done by just adding a vercel.json configuration file to your project root directory.
Here I will show you how it can be achieved.
Add vercel.json file
First of all, add a vercel.json file in the root directory of your existing Node.js project. Add and commit the file to the Git repository.
{
   "version": 2,
   "name": "music-album",
   "builds": [
      { "src": "app.js", "use": "@vercel/node" }
   ],
   "routes": [
      { "src": "/(.*)", "dest": "/app.js" }
   ]
}
Create a Vercel project
Login Vercel.
If you don't have an account yet, you can sign up for a free account.
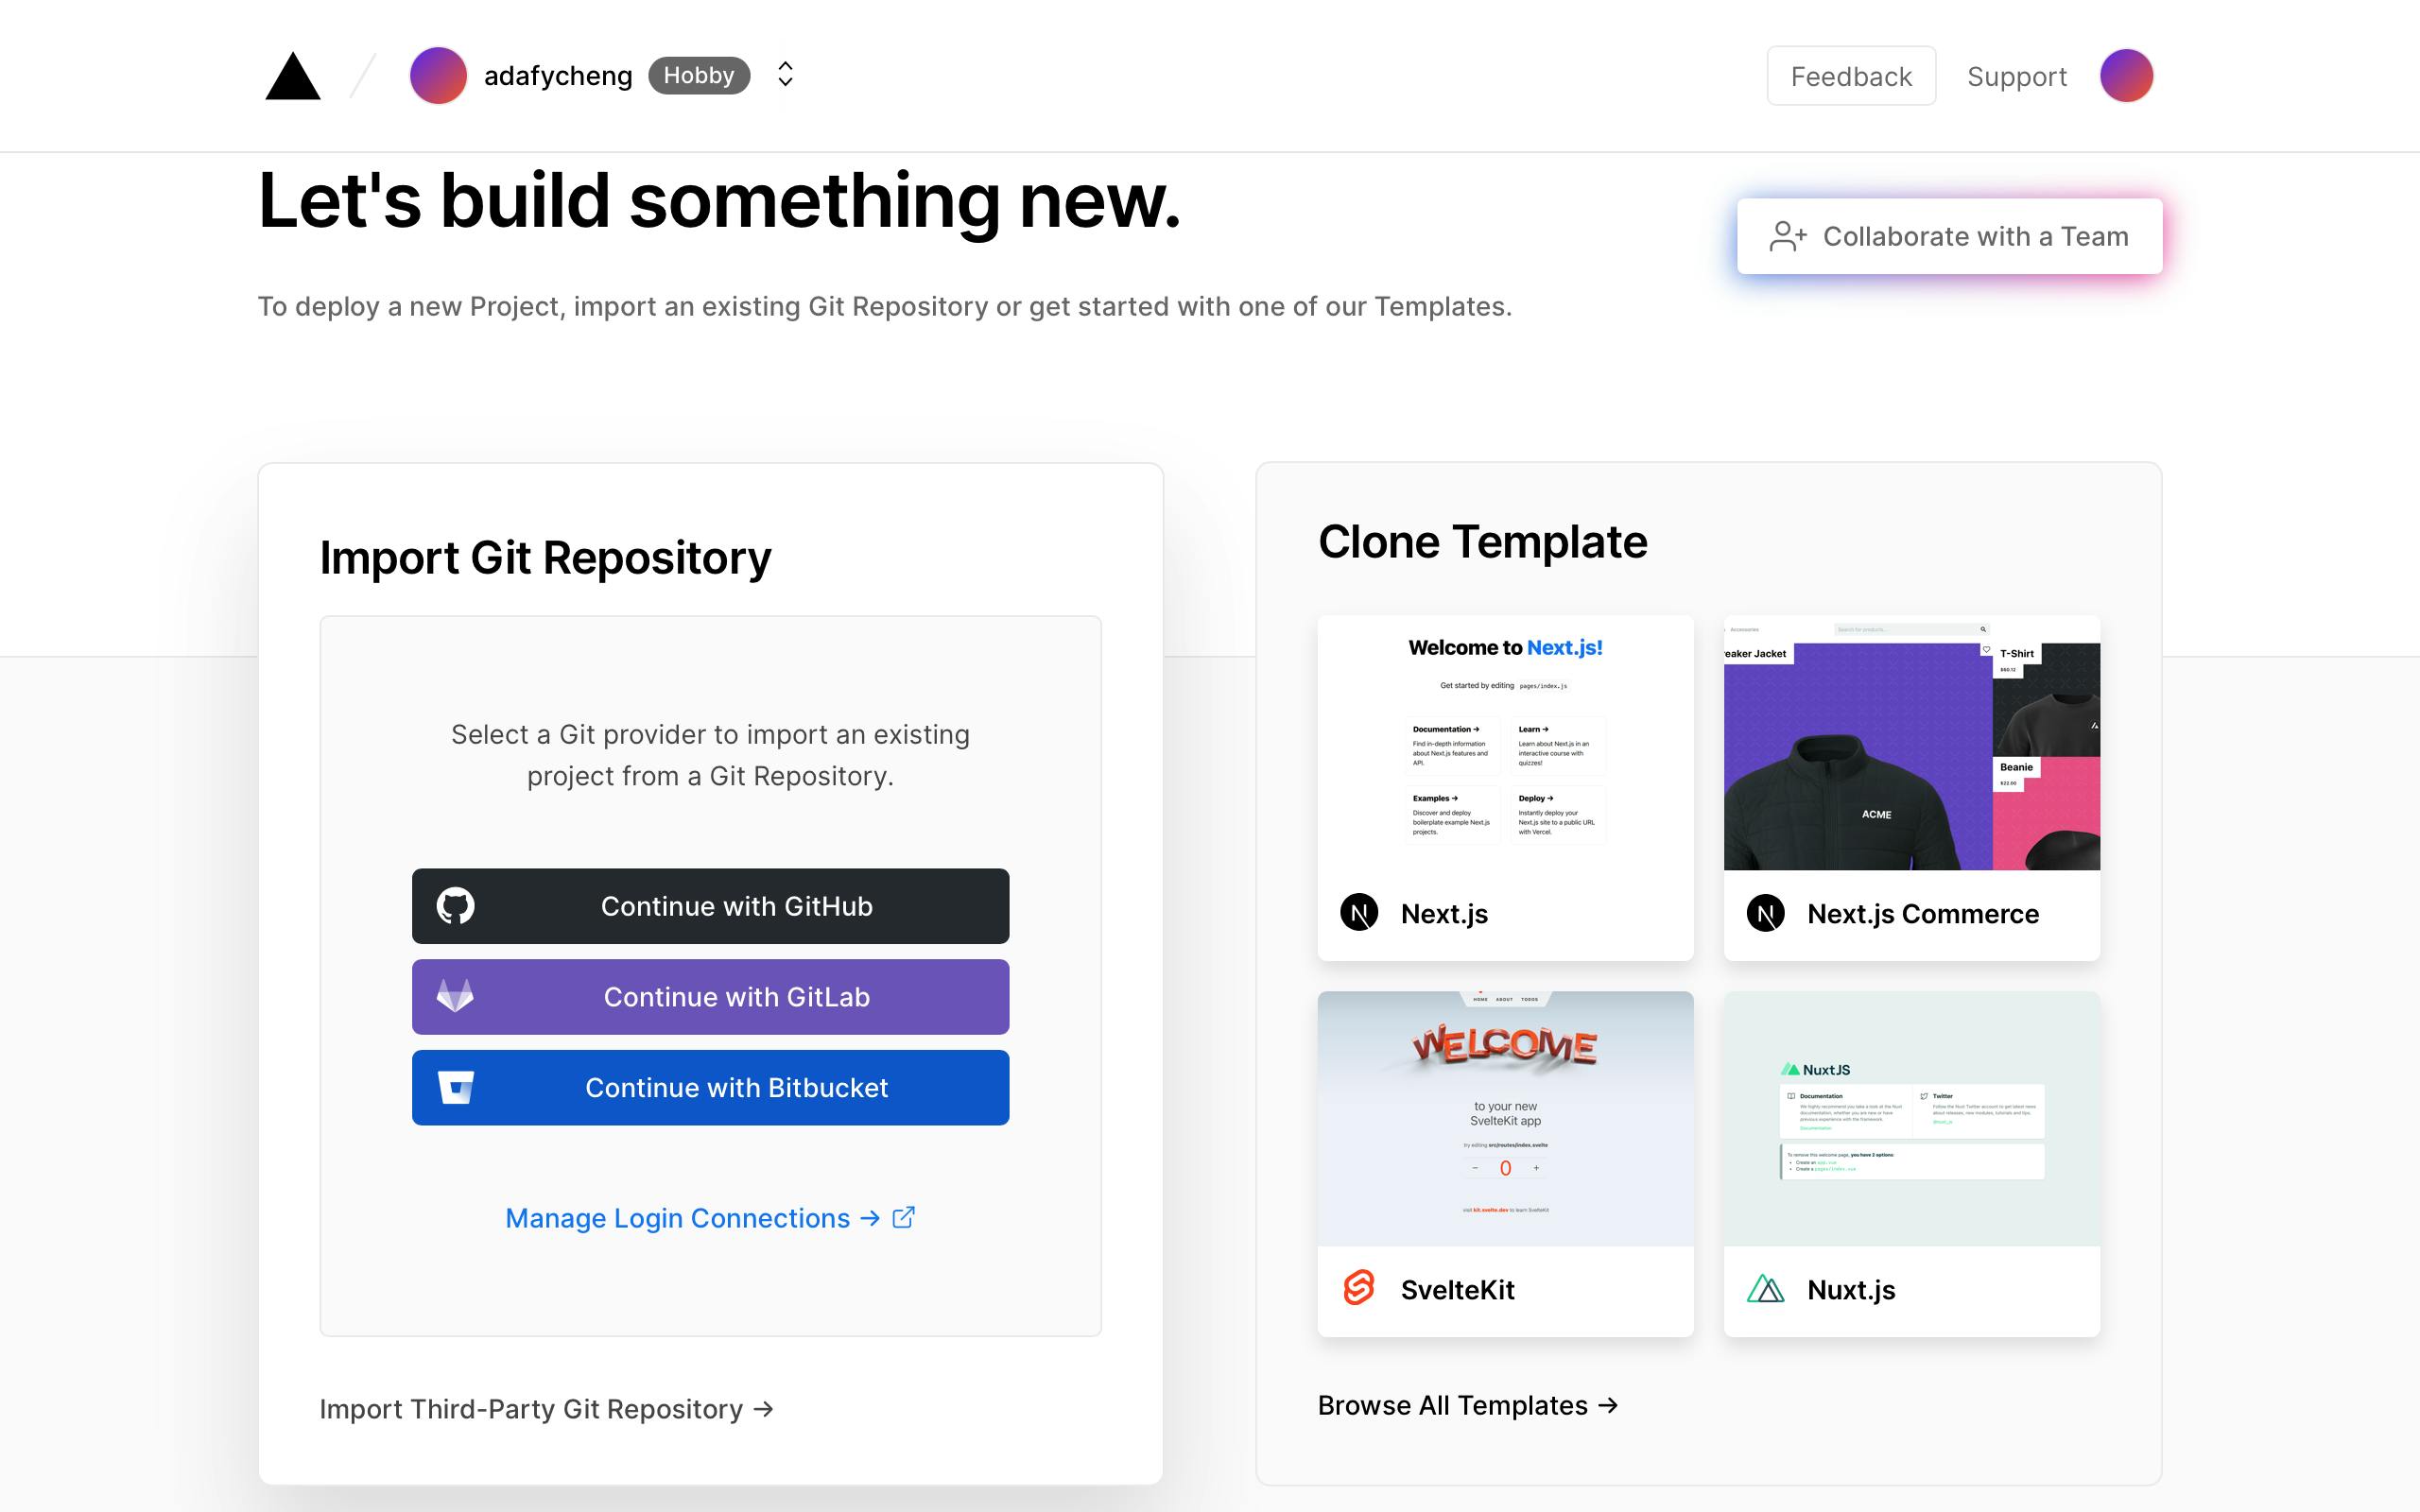
Click the "+ New Project" button on the Overview tab.

Import Git Repository by selecting the Git provider. GitHub, GitLab and Bitbucket are available.
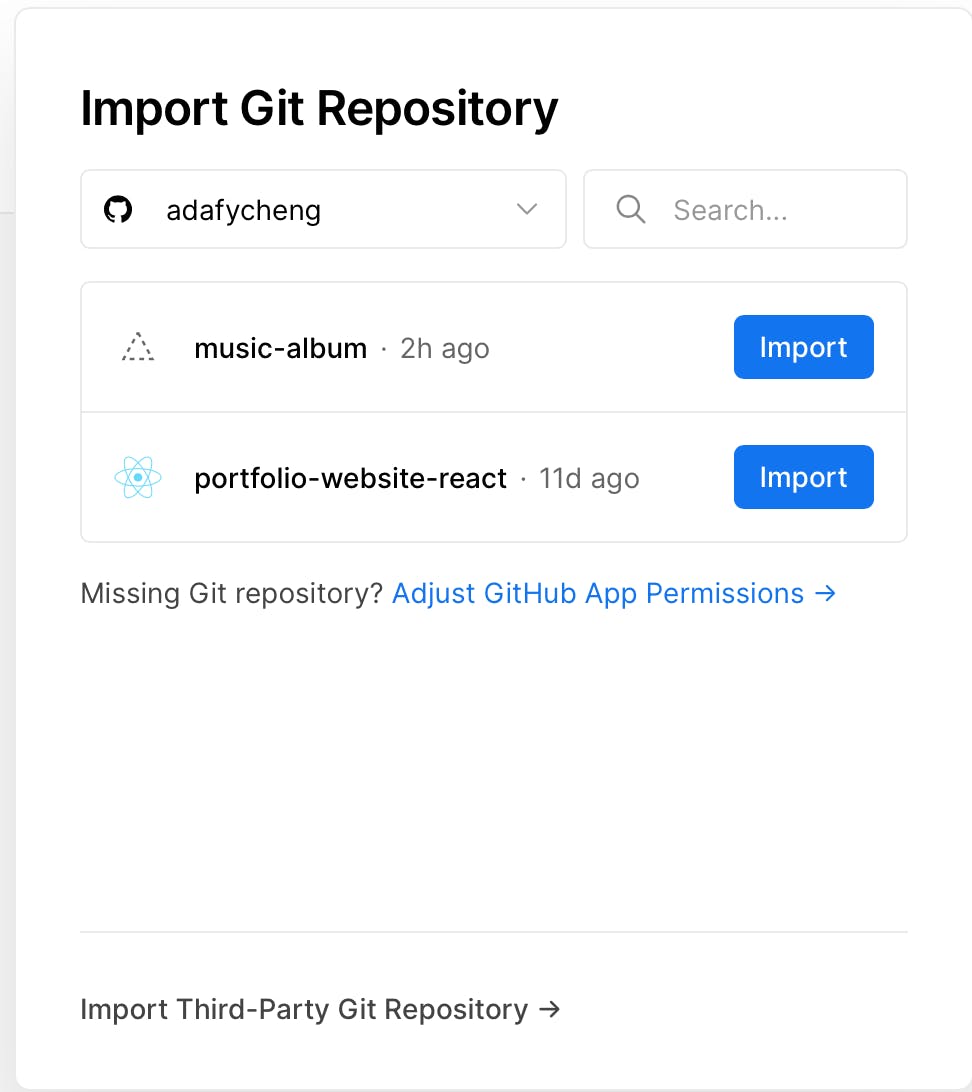
Import Git Repository.
Configure the project.
- Give a Project Name.
Click the "Deploy" button. The deployment should be triggered.

Check the deployment status.
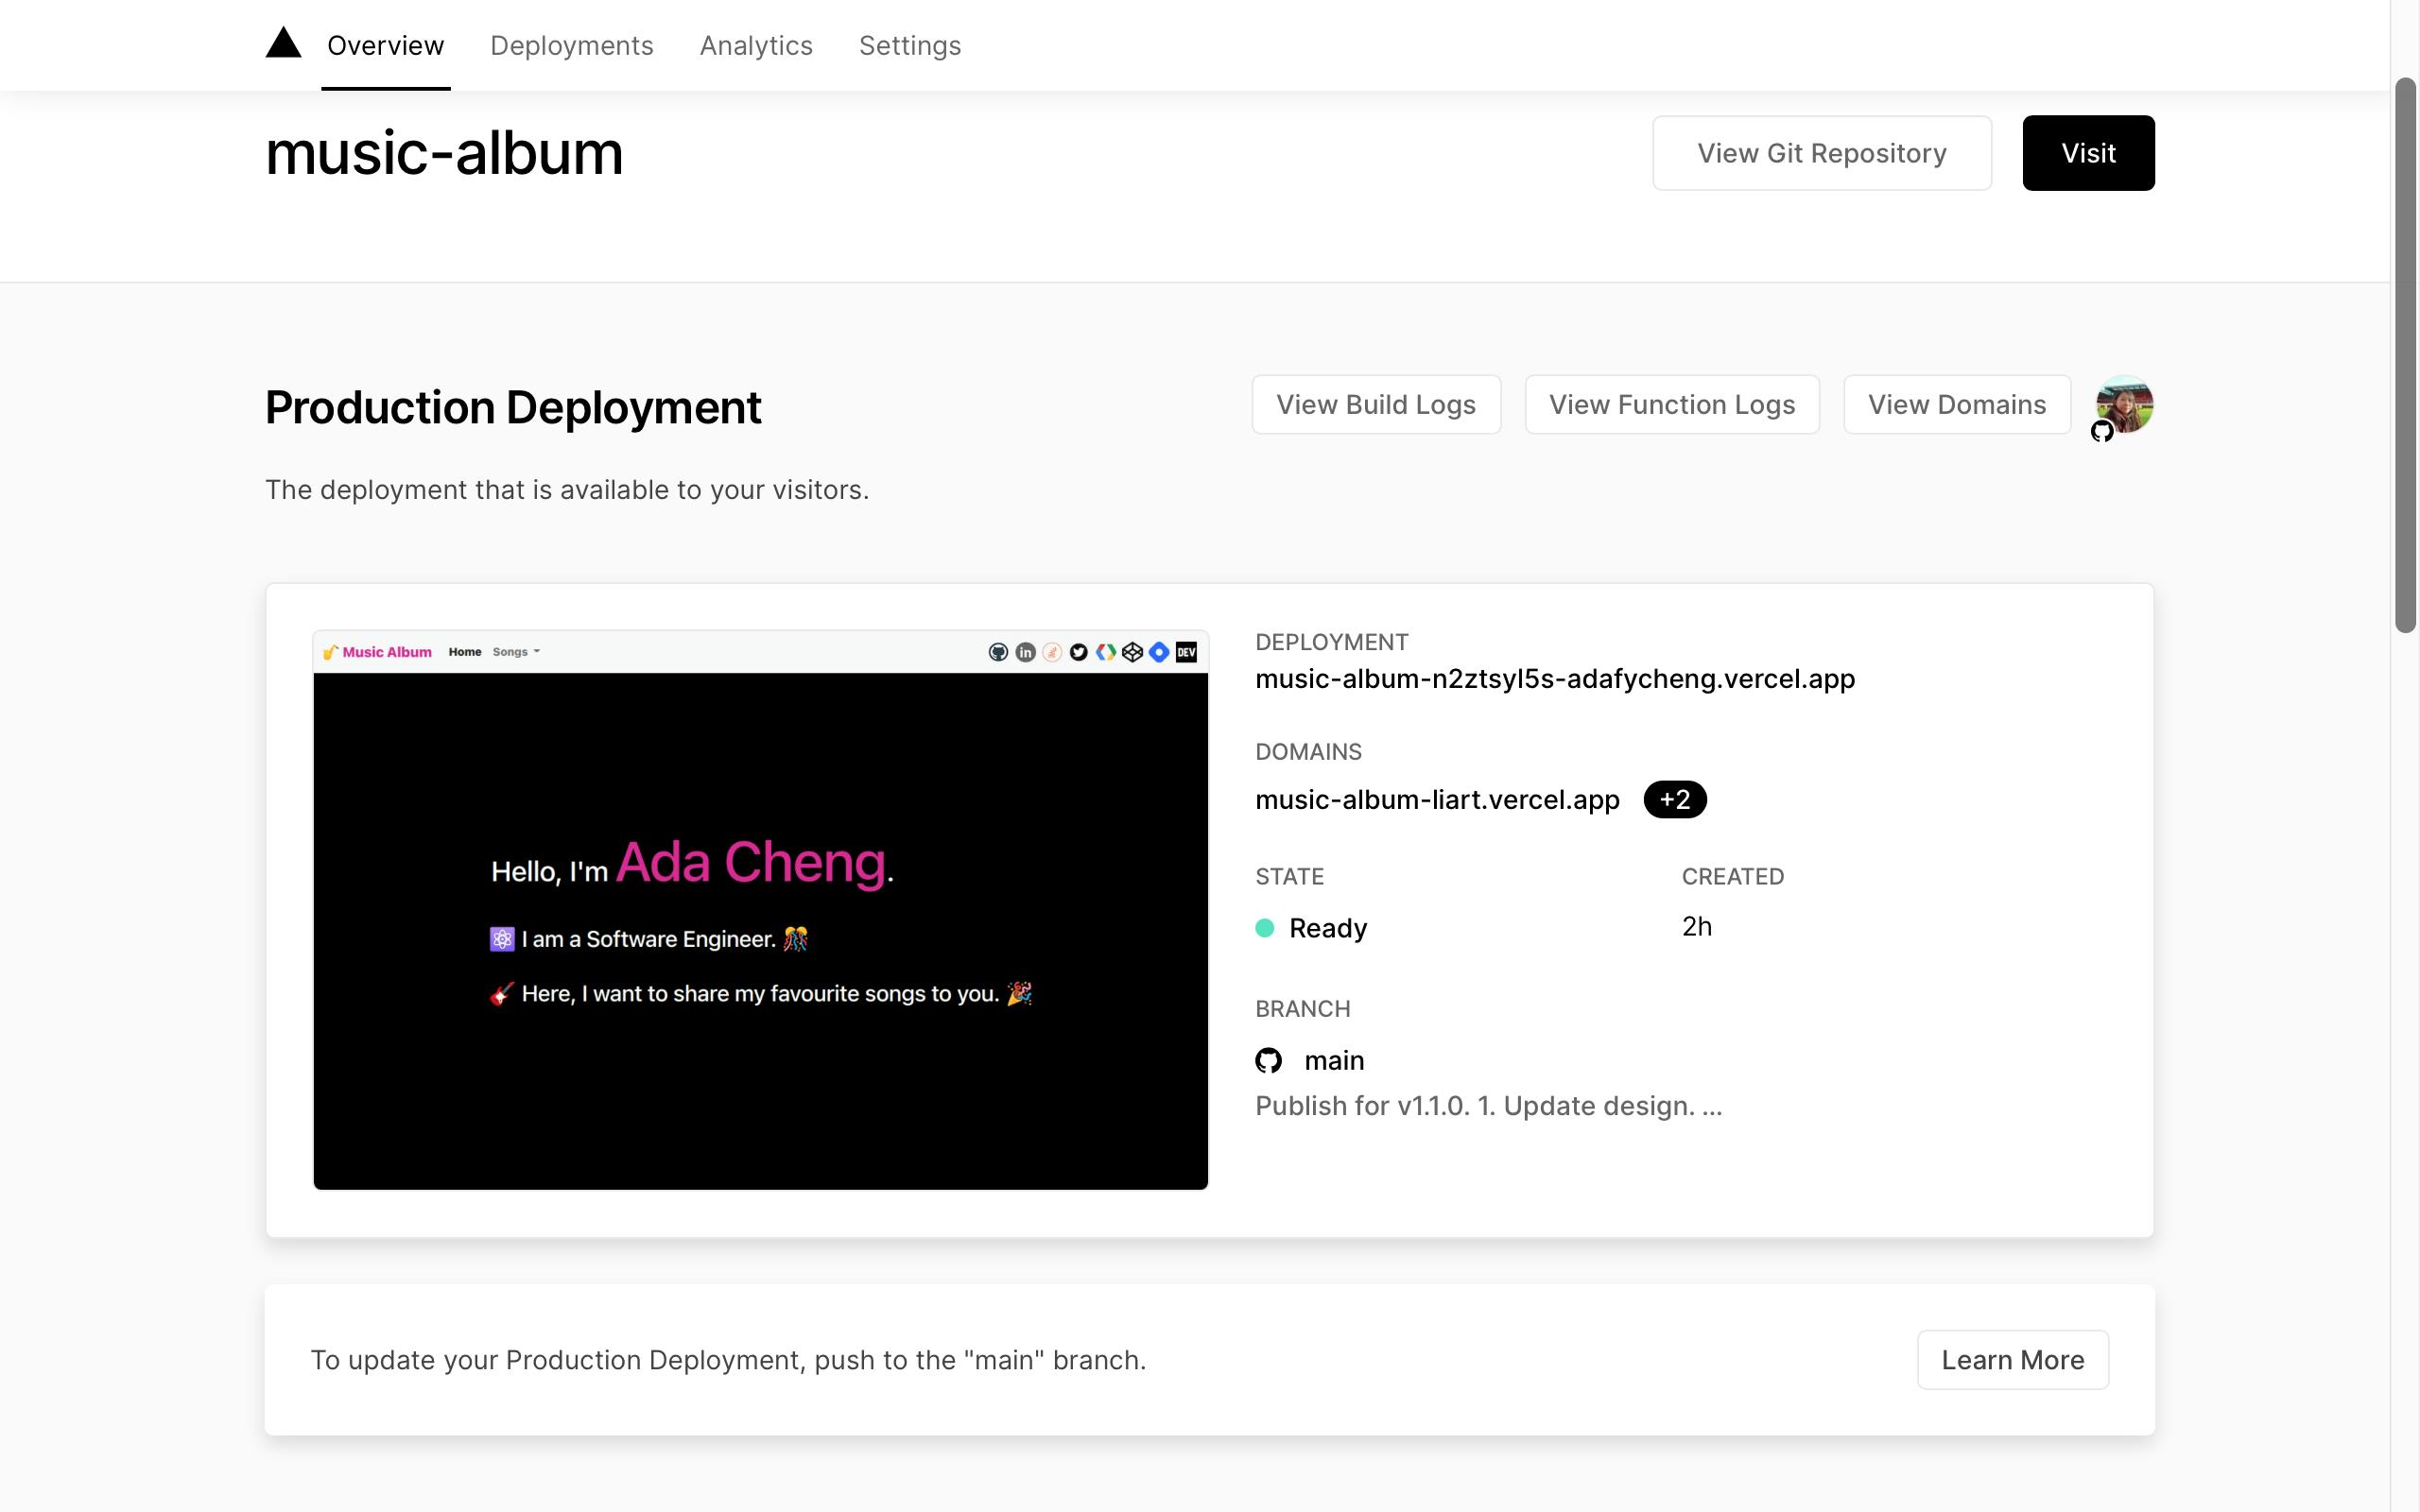
Click the link under DOMAINS to view the application in browser.

Conclusion
Congratulations! Your Node.js application is now configured to be deployed to Vercel easily by adding a configuration file to the project.